

As I begin to restyle after painting our living area all white again, I have really enjoyed seeking inspiration from the minimalist trends which focus on white, greys and copper colours. These are playing on my mind a lot and I was quite conscious I wanted to use some succulents in my styling.
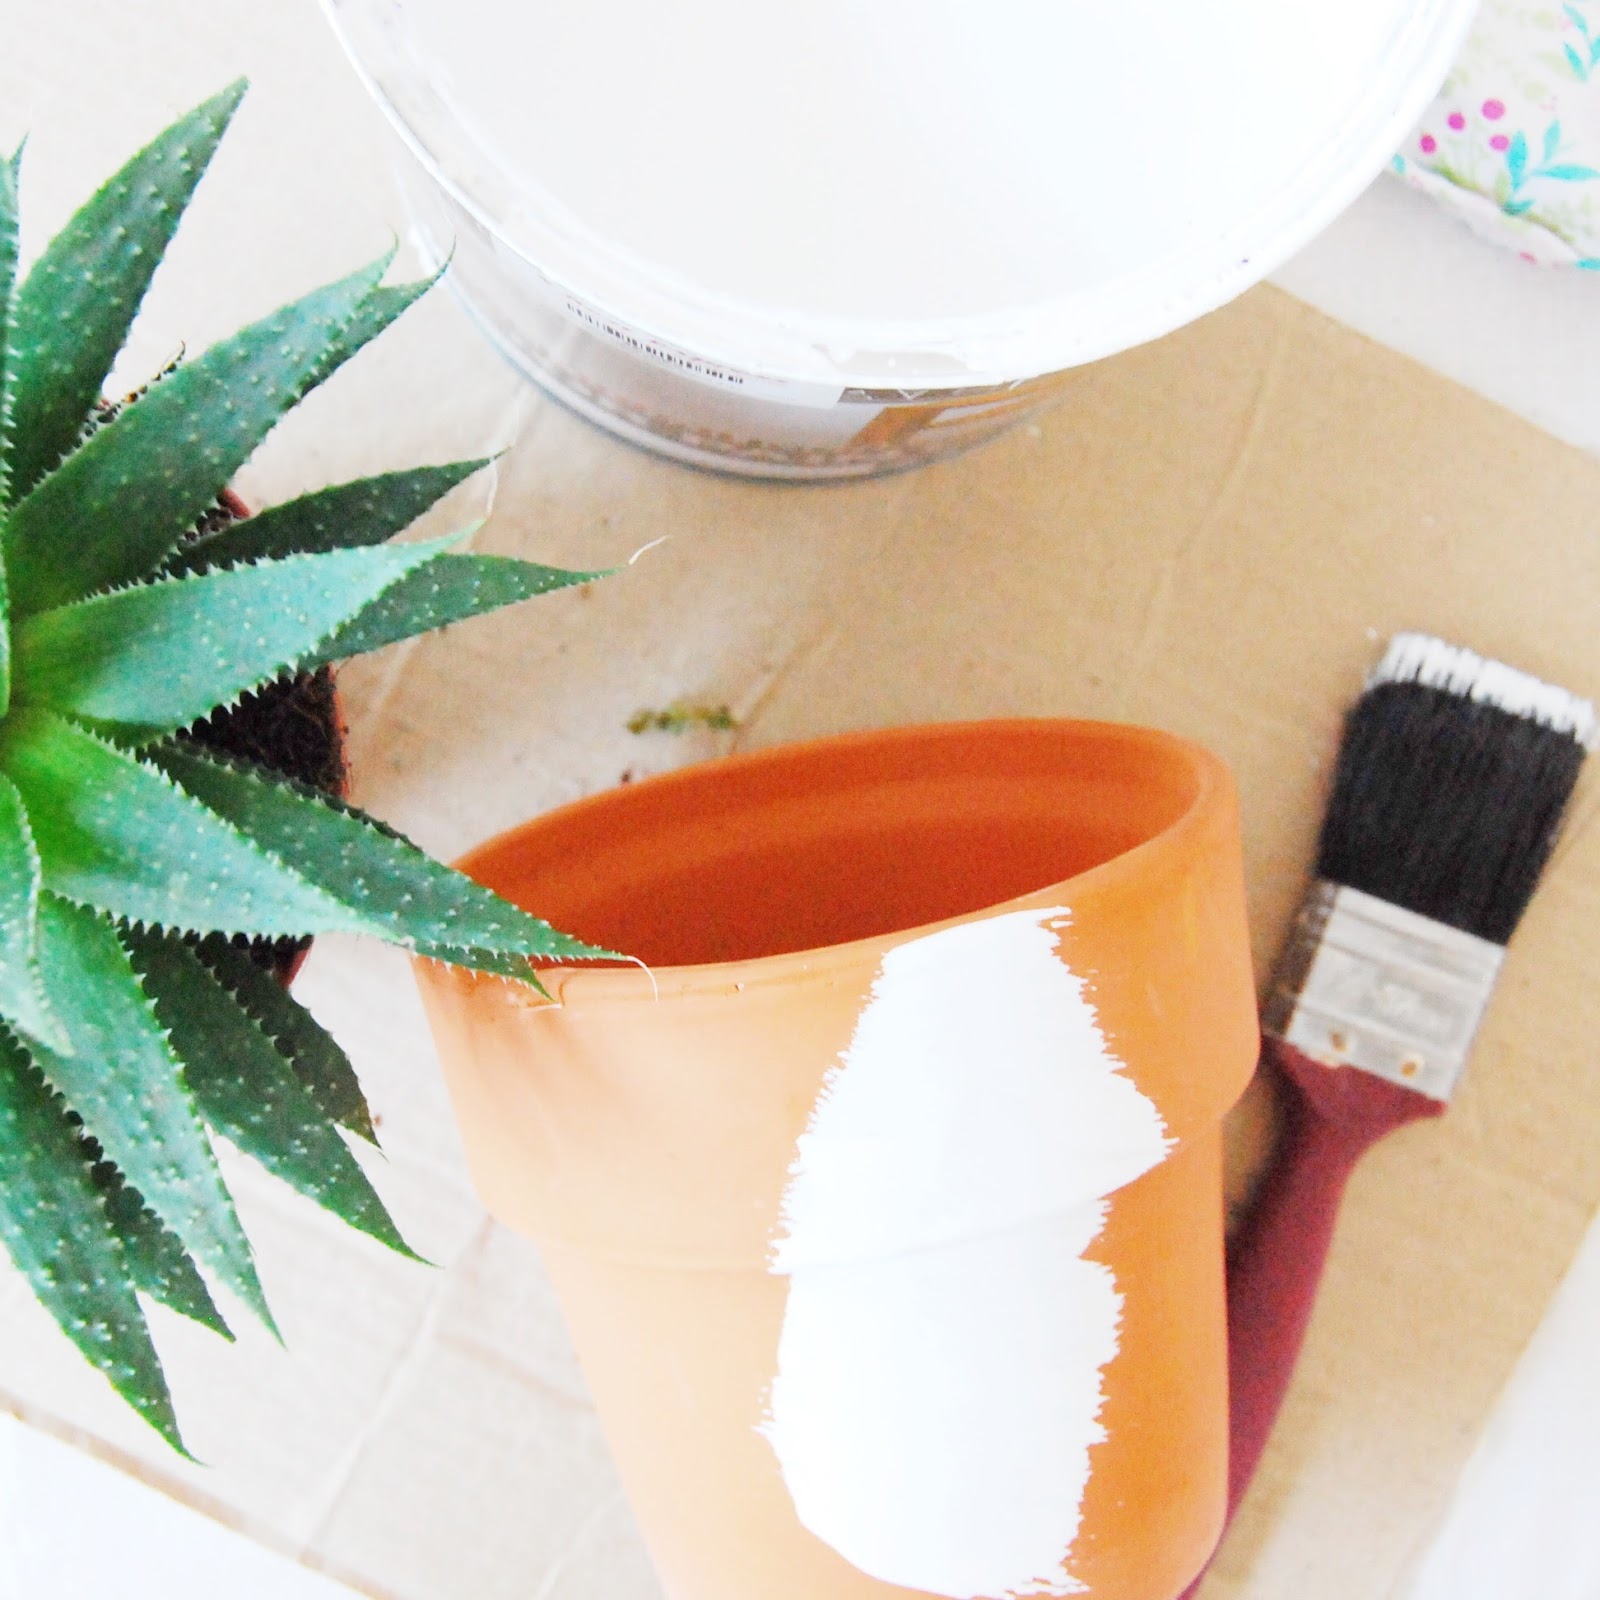
Whilst shopping for these plants in B&Q I was quite aware that the plant pots that they came in were not what I wanted. One was terracotta which really is fine as I knew I could paint it and one was pottery made but had an awful blue wood effect printed on it, I seriously don't know what B&Q were thinking! Anyway, as far as I was concerned it was the plants I wanted and whatever vessel they came in would be changed. Or so I thought. Do you know how hard it is (or expensive) to buy just nice plant pots. Obviously my search criteria was quite small which probably didn't help. I wanted white or copper coloured or metal. Large and cheap doesn't really exist and I wasn't really willing to spend £20+ so yep, hard search criteria. Then I decided that I shouldn't have to buy anything, "get creative with what you've got Emily," I said to myself! So I did, and these drip drop plant pots are the result!

As far as ease goes, you just need a steady hand and you have to think of the pots like a cake! Me being me I used what we had out of the shed. White floor paint covered the pots, I didn't use matt as I wanted something with a bit of a sheen to it. I then used some dark grey that we had, a pot that probably hasn't been opened in about 5 years, but after a stir it was fine.


You will have to purchase some disposable piping bags, as in, baking piping bags but I had some in the drawer. I think for the shaky or nervous hand this is the best and cleanest method. I then simply put the paint in the bag, snipped a very small hole in the tip so that the paint didn't all spray out, it is obviously very runny.

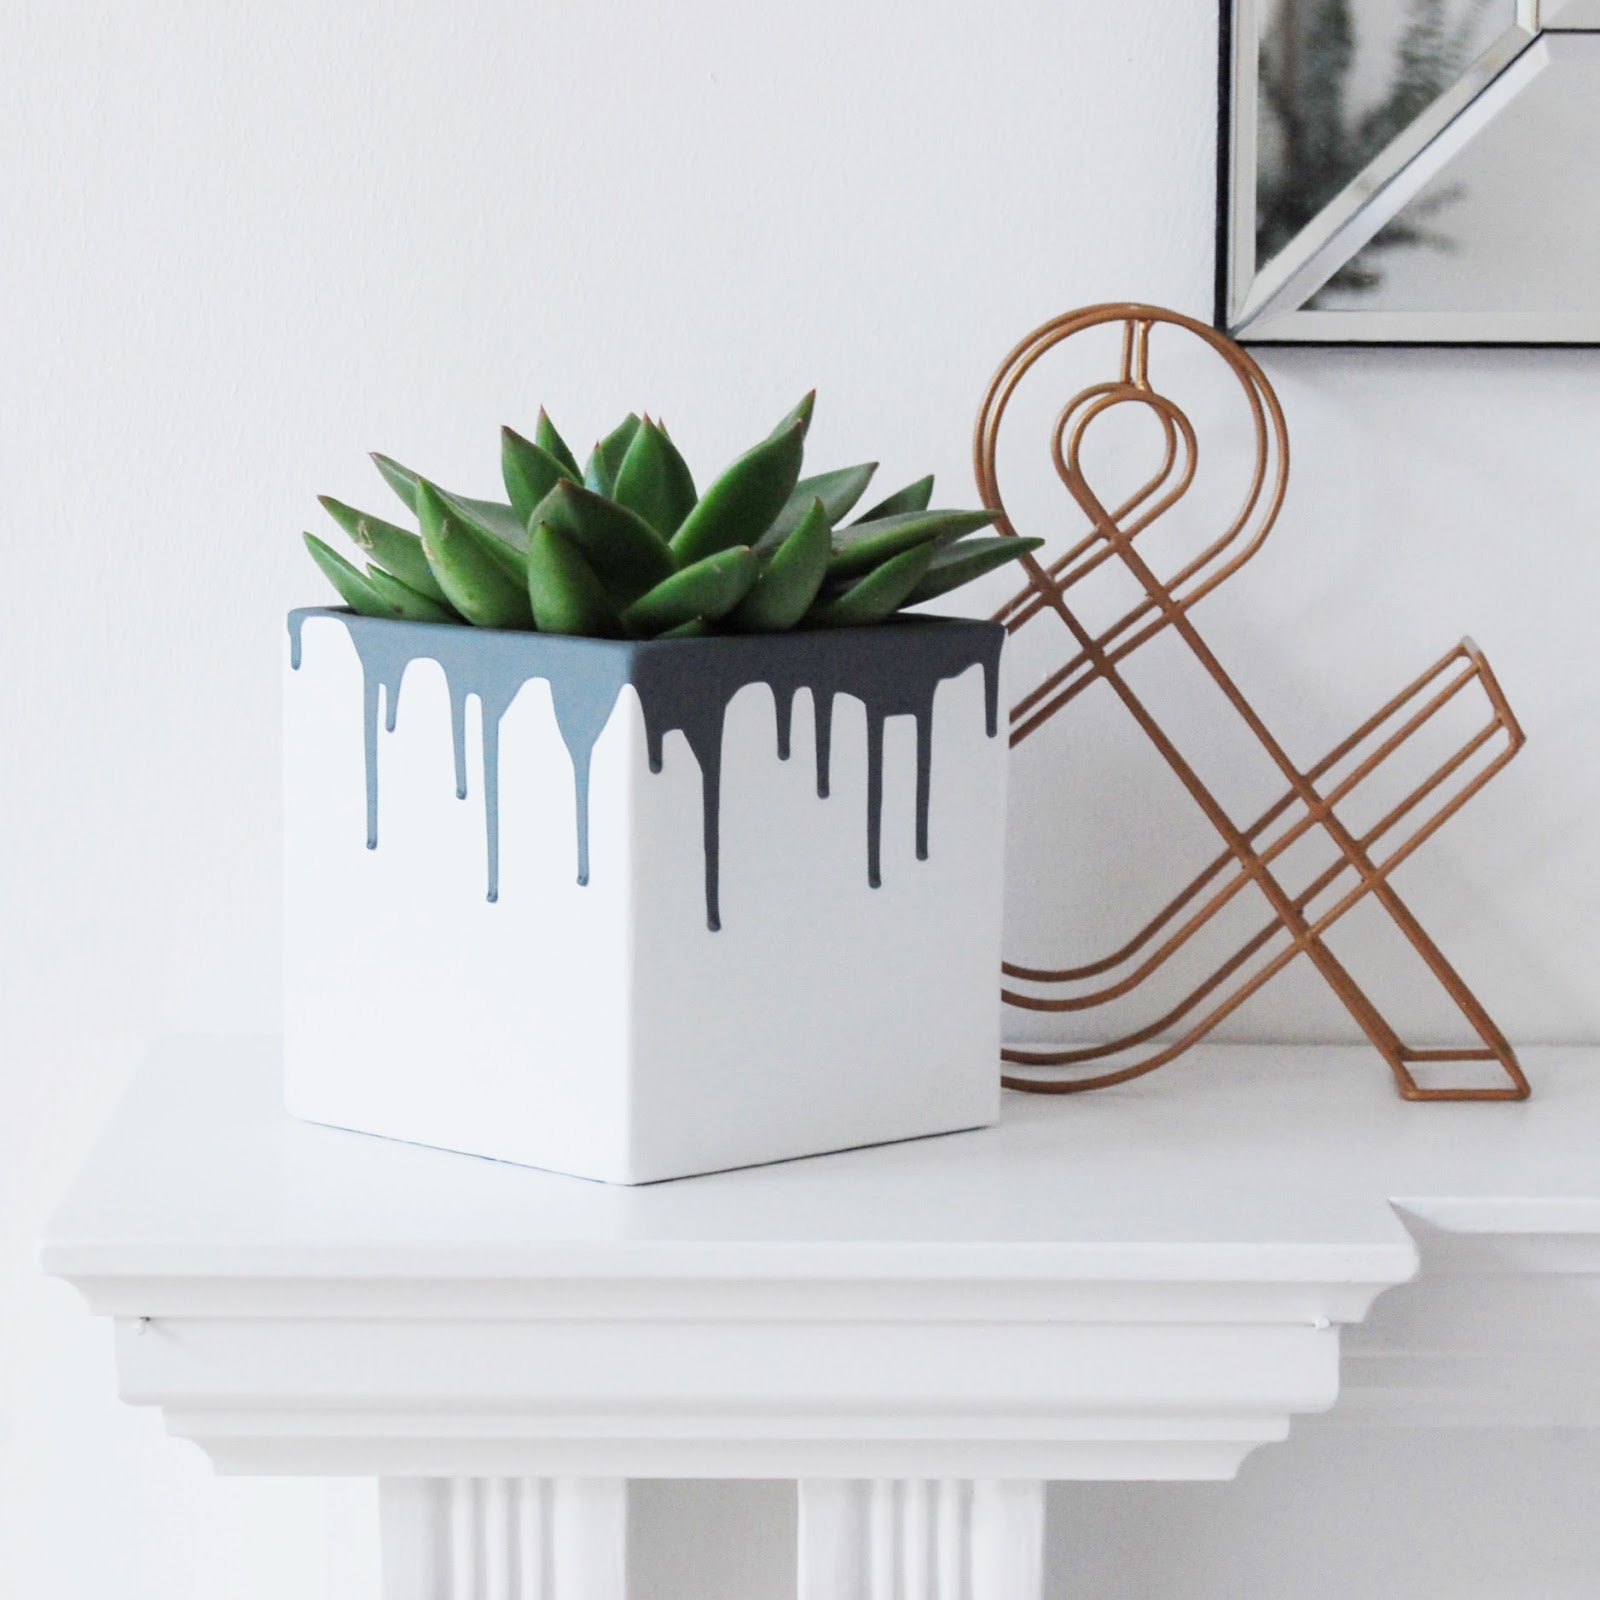
Then you just have to be brave, keep the bag with tip facing up once it is cut as you paint will come out so when you are ready to go for it, tip down straight onto the rim of the pot. I was so nervous but once that paint starts coming you just have to go for it. I just worked round the rim putting on so that the rim was covered. Then I just watched the drips form naturally. If it looked like there was nothing coming I just did another line of paint around the rim where it needed more drip action. Now I suppose depending on how long you want the drips to go you just keep adding paint around the whole rim and it will slowly just work its way down. I wanted to still have a lot of white on show so mine is very much just round the top. Once the drips are going just leave them. I did no fussing, I only put paint on the rim so it gained that very, very natural looking drip effect.


The results are fantastic. I mean, I love them. They are very cool looking, neat (even though they are actually messy) and sat against the white walls, pink sideboards and my little copper glass vases they really look great and like I could have paid a lot of money for them!


If you don't want to shell out money, seriously try these for sprucing up a plain terracotta pot, imagine all the different colours you could do. Think I might have to purchase some copper coloured paint as that would look amazing, white with a copper paint drip.........
Emily
You're so clever, Emily. I love this idea. They look amazing.
ReplyDelete